So, you’re contemplating the big move: transferring your beloved Tumblr blog like a pro? Fear not, dear blogger, I’m here to guide you through every tantalizing step of this oh-so-epic journey. Strap in, because we’re about to make blog transfer history!
First things first, log in to your Tumblr account. This is basically your portal to the world of GIFs, cat memes, and deep existential thoughts. Seriously, who doesn’t love scrolling through an endless feed of randomness?
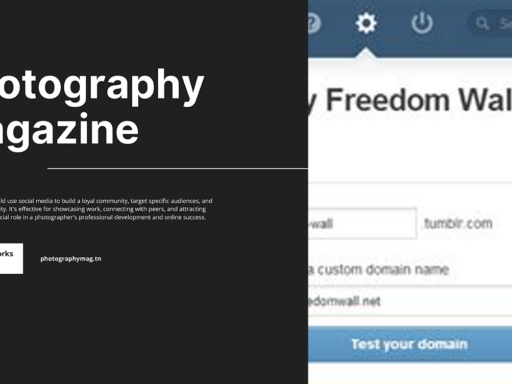
Once you’re comfortably nestled in your dashboard, navigate to your blog settings. You can’t just toss your blog over to someone else without getting into the nitty-gritty settings, right? Click on your blog’s name and prepare to delve deeper.
Then, select the blog you want to transfer. Spoiler alert: If you have multiple blogs (because more blogs mean more fun), make sure you’re picking the right one. You don’t want to accidentally transfer your travel blog to your cousin who shares cat videos instead.
Next, add a new member to your blog. This is akin to handing over the keys to the castle. You’ll type in the email of the new account, essentially inviting them to join your blogging guild.
Now, have that new member accept the invitation. Without this, your plan crumbles like a stale cookie.
Once they’re in, make the new account an admin. It’s like crowning them with a beautiful digital tiara—now they’re royalty in your blogging world!
Last but definitely not least, you can remove your old account from the blog settings. This is the dramatic flourish at the end of an epic saga. Just like that, your blog has a fresh set of caretaker hands!
And voila! There you have it—a seamless transfer process that even the most reluctant blogger would appreciate! Now go forth and dominate the Tumblr universe!