So, you’ve decided your Tumblr URL is about as thrilling as watching paint dry, huh? Well, good news! You can transform that digital snooze-fest into something much more you. Let’s dive into the crystal-clear, easy-peasy, lemon-squeezy way to edit your Tumblr URL.
First things first: get comfy in the dashboard. Grab that warm cup of coffee (or tea if you’re fancy) and click on “Settings” hanging out in the left sidebar, just waiting for your click. This is where all the magic starts to happen—not the wand-waving kind, unfortunately, but still pretty cool.
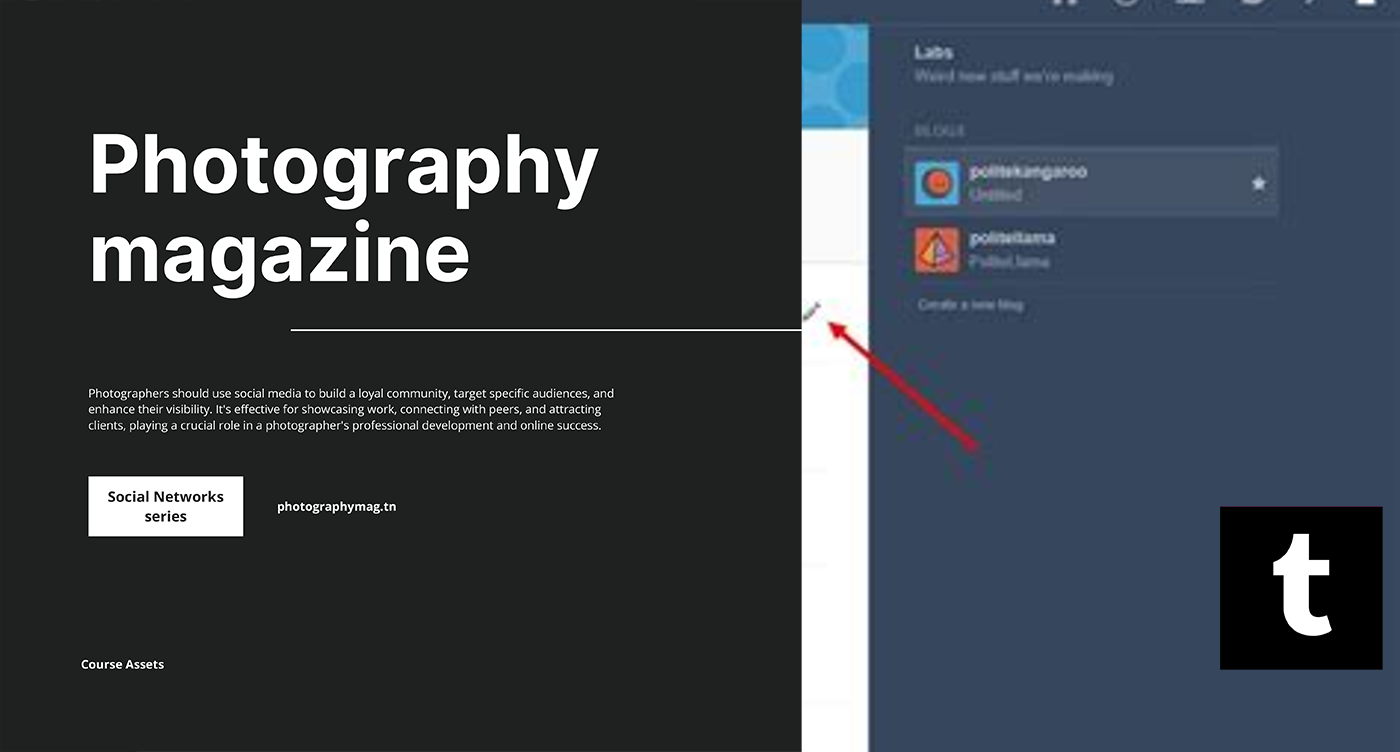
Next, you’ll see a list of your blogs strutting their stuff on the right side of the page. Go ahead and click on the blog you’re itching to update. It’s like picking your favorite child, but without the awkward family drama—thank goodness, right?
Now, here comes the fun part. Spot the pencil icon in the “Username” section (or, if you’re busily working on a secondary blog, scroll on down and look for the “Blog name” section). That little pencil is your ticket to new online glory! Click it, and voila! You can now enter your fresh, sparkly new username. Remember, this is your chance to impress; think of something catchy, memorable, or downright hilarious. Your future followers will thank you.
After you’ve crafted that perfect URL, don’t forget to hit “Save”—because what’s the point of crafting something amazing if you just let it disappear into the digital ether? It’s like baking a cake and deciding not to put it in the oven. Just…no.
And voilà! You’ve just edited your Tumblr URL like a pro. Your blog’s new address will soon be the envy of all your friends—okay, maybe not that dramatic, but you’ll definitely be able to smugly grin every time someone asks for your Tumblr. Just imagine the envious glances and the rolling eyes! You, dear friend, have now conquered the art of URL editing. It’s a small victory, but hey, in the world of social media, we celebrate every win!


