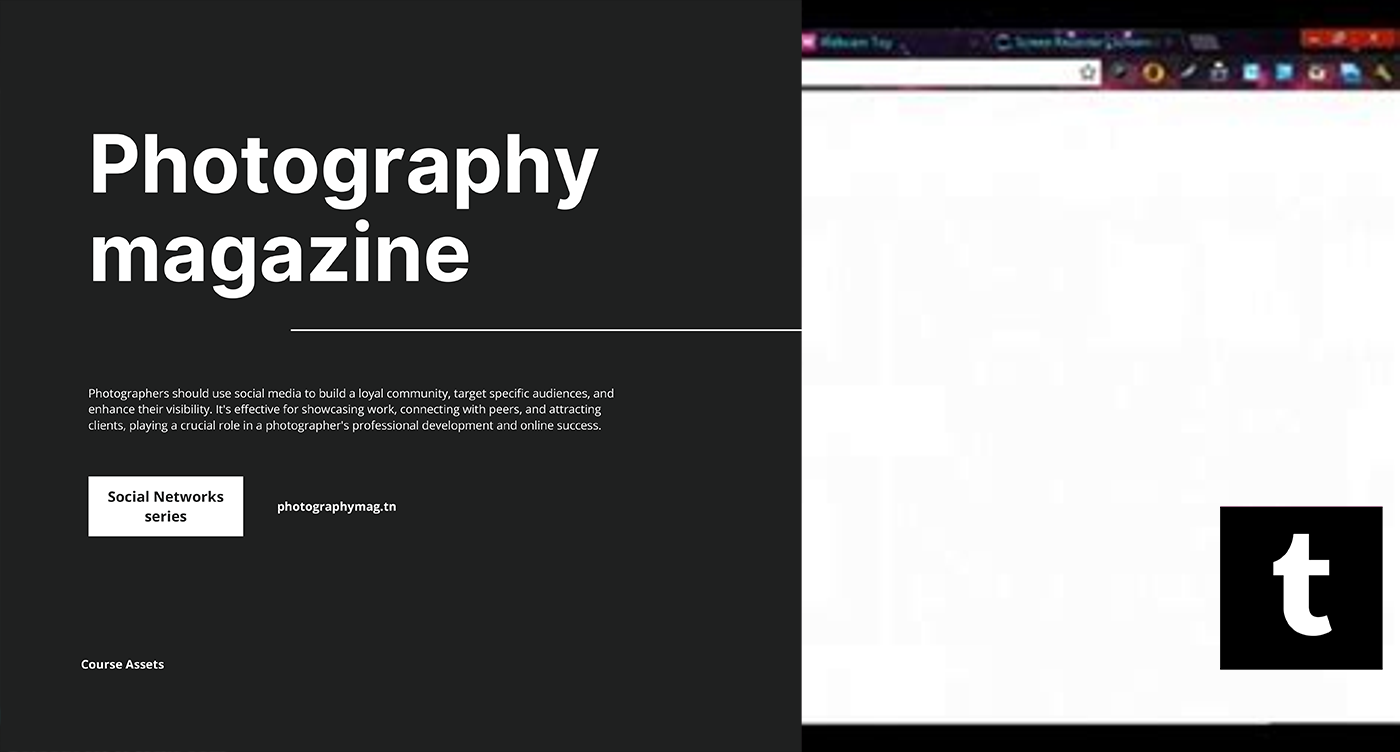
How to Add a Playlist to Your Tumblr Blog: A Fun Guide!
Ah, Tumblr! The magical land where animated GIFs and good vibes collide. It’s a playground for self-expression and creativity, a trove of memes, and a shrine for every obscure band you can imagine (or cannot, for that matter). And what better way to let your unique flavor shine through than by adding a playlist to your Tumblr blog? That’s right! Turn your blog into a sonic experience that will keep your followers coming back for more. Don’t worry, I’ll guide you through the techy bits in an easy-going and amusing manner!
Step 1: Log in to Your Tumblr Account
First things first. You gotta log in to your Tumblr account like you’re a VIP sneaking into an exclusive party. Head over to Tumblr.com, enter your username and password, and voila! You’re one step closer to transforming your blog.
Step 2: Let’s Get to Your Blog Dashboard!
Once you’re logged in, you’ll find yourself at the Tumblr dashboard—a bustling hub of creativity, chaos, and cute cat pictures. Click on your blog’s icon, usually found on the top right or left of your screen, to navigate to your blog’s personal dashboard. Oh, the memories! Your digital space awaits, filled with potential.
Step 3: Click on the “Edit Theme” Button
Every good adventure starts with a little customization! Look around your blog dashboard and spot the fabulous “Edit Theme” button. Yeah, that one. You don’t just want a cookie-cutter blog, do you? Click it! This will take you into the depths of your blog’s aesthetic, and trust me, it’s about to get artsy!
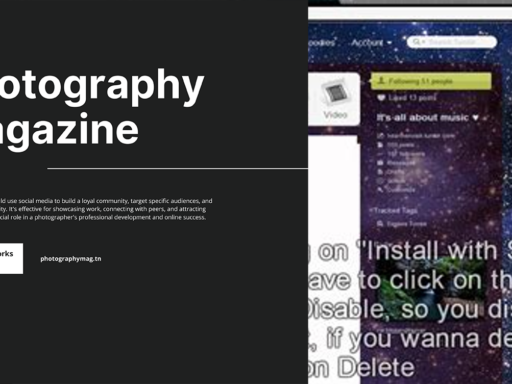
Step 4: Select “Edit HTML” to Open the Code
Now, things are about to get serious (but in a not-so-stressful way). You’re going to find the option that says “Edit HTML.” Critics say editing HTML is like making a delicious sandwich—it seems complex, but you just need the right ingredients and some finesse. Click it. You’re entering the realm of your blog’s HTML code! This is where the magic happens, folks.
Step 5: Grab Your Playlist Embed Code
Before you get lost in the rhythm of coding, you need that all-important playlist embed code. This is like the secret sauce. You can create a playlist on popular music streaming platforms such as Spotify, Apple Music, or SoundCloud. Is your playlist a masterpiece of tunes that snatch your heart? Go ahead, share it with the world! Here’s how:
- On Spotify or Apple Music, choose your playlist and look for the “Share” option.
- Select “Embed” option. This will generate a snazzy little piece of code that you can copy. Copy that code like a pro!
- If you’re on SoundCloud, find that playlist, click on “Share”, and grab the embed code.
Step 6: Paste the Embed Code in HTML
Now for the *real* fun part—pasting that embed code!Scroll through the HTML until you find the right spot to put that playlist. Aim for something that makes sense like a sidebar or between posts if you’re feeling trendy. Just think: “Where do I want my followers to jam out?” When you find the perfect spot, paste in the code. Think of yourself as a DJ; you’re arranging the setlist of this gig!
Step 7: Click “Update Preview” and Jam On!
Feeling excited? I hope so, because we’re just about to unveil your auditory gem. Click the “Update Preview” button to take a peek at how your playlist looks. Is it funky? Is it sexy? If you’re looking at a music player embedded in your blog, then you did it! Ain’t that a hit? Now, let’s make sure your followers can enjoy those sweet tunes as well. If everything looks good, click on “Save” to finalize it!
Bonus Step: Rinse and Repeat!
Did your followers appreciate your impeccable taste? Or are they begging for more? Here’s the spicy secret—you can update the playlist as often as you like! Keep the party rolling by changing it up with seasonal tunes, or perhaps a summer vibe. Your blog should reflect your spirit, and you’re the DJ of your own show, my friend!
Some Additional Customization Tips!
Still want your blog to truly pop? Let’s sprinkle some fairy dust on it with these top-notch tips:
- Colors & Fonts: Customize the playlist appearance! Many embed players let you tweak colors and fonts so those tunes blend in with your blog design.
- Descriptions: Add a little description about why you love the playlist. Was it made for a heart-wrenching road trip? Or perhaps it echoes your last Netflix binge? Share the story!
- Interact: Ask your followers to suggest tracks. You could even host a fun poll! “What’s the next anthem I should add to my blog?” It’s all about that engagement, baby.
Embedding Playlists: A Final Word of Encouragement!
Now that you’re equipped with this knowledge, go ahead and make your Tumblr blog sing! As we wrap this up, remember, music connects us all. Adding a playlist provides your wonderful audience a taste of your personality and flair. When someone visits your blog and hears that perfectly curated playlist, their heart will swell with appreciation (and probably a little bit of jealousy). What a way to leave a lasting impression, right?
<pSo, what are you waiting for? Get to it, decorate your Tumblr blog with those fantastic beats, and watch your followers groove along. Because at the end of the day, it’s all about vibes, connections, and owning your digital space like the absolute legend you are!
Happy Tumblring! May your playlists bring joy and inspiration with every note!