Deleting Pictures Off Tumblr: The Ultimate Guide
So, you’ve published some photos on Tumblr, and now you’re staring at that infamous snapshot of last summer’s awkward beach trip, wondering how you could ever hit “publish” on such a cringe-fest. Or maybe you accidentally uploaded a masterpiece of a photo but forgot to edit out your friend’s questionable “fashion choices.” Worry not, my friends! Deleting pictures off Tumblr is as easy as pie—if pie had no calories and was a simple few clicks away.
In this playful and thorough guide, let’s delve into how to effectively kiss those unwanted pictures goodbye, whether you’re on your phone or a laptop. So grab your device, and let’s get deleting!
Step 1: Opening Your Tumblrs
First things first, we need to log into your Tumblr account—after all, the picture-deleting action awaits!
On Your Phone: 1. Launch the Tumblr app on your mobile device. 2. Already logged in? Awesome! If not, go ahead and enter your credentials like a social media superstar.
On Your Laptop: 1. Pop open your favorite web browser and navigate to Tumblr. 2. Sign in, hopefully with the correct password this time (we swear that “forgot password” button gets pressed way too often).
Step 2: Navigate to Your Blog
Did you know that you can have multiple blogs on Tumblr? Kind of like having multiple identities but without the secret agent drama. Now, if you’ve been managing your content like a pro, it’s time to get to the specific blog from which you want to delete those cringey little snapshots.
On Your Phone: * Tap the profile icon at the top left corner. * Select your blog from the list that pops up.
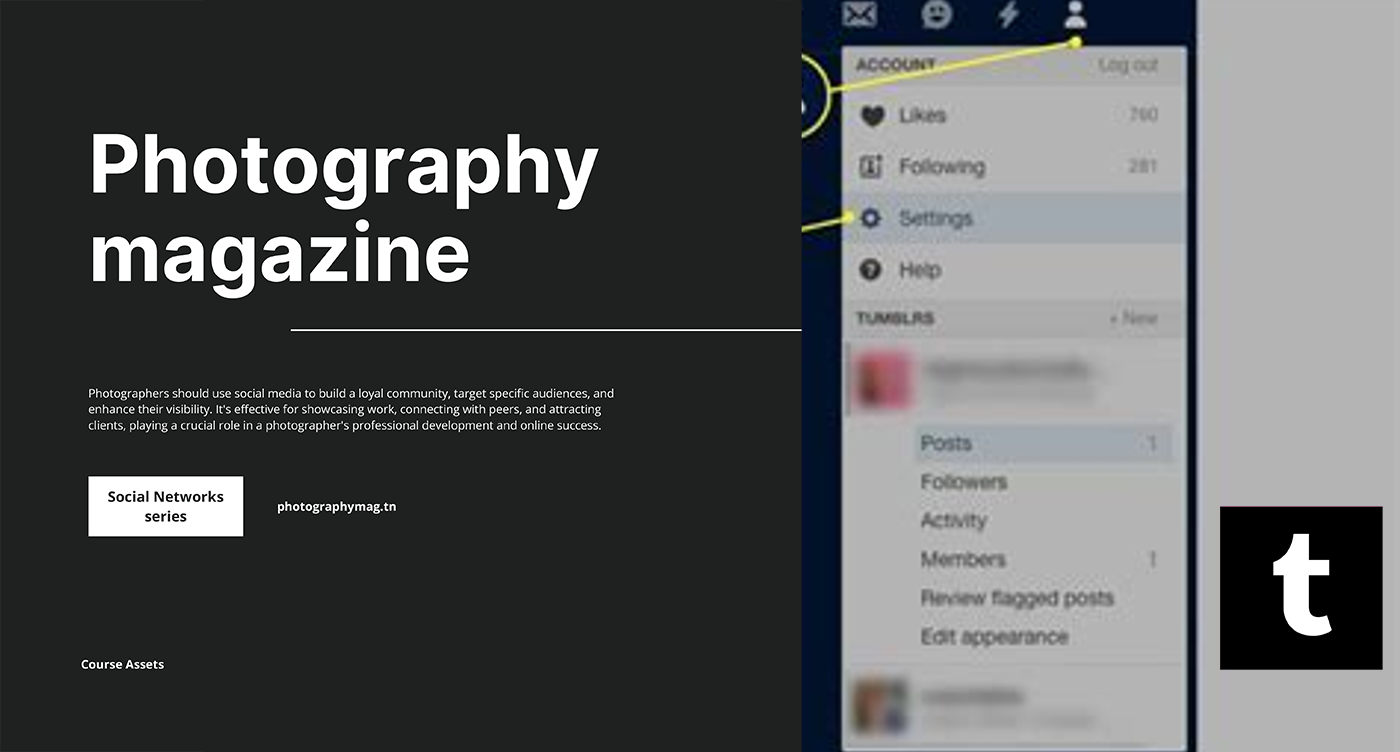
On Your Laptop: * Click on your profile picture in the top right corner. * Hit the name of the blog on which you want to edit images.
Once you’re in your chosen blog, the picture purge can officially commence!
Step 3: Find the Post
Time to locate the infamous post you want to change. We know what you’re thinking: “But wait, I have 37 million posts!” No worries, the app has a built-in search feature; we can absolutely tackle this!
On Your Phone: * Scroll through your blog until you find the post (you’ll know it when you see it). * Or tap on the search bar to make your life easier. Type a keyword related to the post: “beach,” “fashion,” or “cat meme,” and up it comes!
On Your Laptop: * You can scroll or use the same built-in search feature in your browser window. * Pro tip: If you’re a meticulous little planner and have organized your posts well, navigating through tags will save you lots of scrolling!
Step 4: Editing the Post
Now that you have the post live and in front of you, you might be wondering how you’re ever going to get rid of that one photo without turning your computer or phone into a paperweight. No worries. Let’s edit that post!
On Your Phone: 1. Tap on the post. 2. You will see an option that says “Edit.” Tap it. Cue the editing magic!
On Your Laptop: 1. Click on the little “pencil” icon that appears when you hover over the post. 2. The “Edit Post” screen will pop up; it’s like an Airbnb for your photos—time to make some changes!
Step 5: Get Dragging & Deleting! 🗑️
Here’s where the fun really begins. Watch those unnecessary pixels disappear, allowing your blog to shine brighter!
On Your Phone: 1. Inside the post edit screen, just tap and hold the photo, a magical little option should pop up allowing you to delete it. 2. Optionally, you could drag the photo to the trash can icon that appears. It’s like taking out the digital trash! Gone forever.
On Your Laptop: 1. Hover over the photo until you see a cursor change or an option to grab it. 2. Drag the photo to the trash can icon that shows up on-screen. Just like that, say adios!
Step 6: Final Steps—Save and Celebrate! 🎉
At this point, victorious music should start playing in your head because you’re almost done!
On Your Phone: * Don’t forget to hit the “Save” button once you’ve made your changes. Your blog deserves to thrive without that pesky photo!
On Your Laptop: * Click “Update” or “Save,” whichever floats your boat! Ta-da! The world is now a slightly better place without that photo lingering around.
Bonus Round: Deleting Entire Posts 🗑️
What if the entire post is a tragedy? Oh, I can feel the solidarity! Whether it’s the photos, your dramatic prose, or the fact that the photo filter made everything look worse, you have the option to delete the whole shebang!
On Your Phone: 1. Simply navigate to the post. 2. Tap the three dots in the corner and select “Delete.”
On Your Laptop: 1. Hover over that unfortunate post and grab the “trash can” icon that appears at the bottom corner. 2. Hit that icon and watch it go down the proverbial digital drain.
Double-Check for Acceptance
After you’ve taken all these steps, run a little victory lap back to your blog. Check out the changes and make sure nothing traumatic remains—unless, of course, you enjoy having a museum of past blunders. In that case, carry on, my friend!
Conclusion: Your Clean Tumblr Awaits
And there you have it! You’ve just deleted pictures off Tumblr like a total pro! Whether you’re trying to declutter your blog or just dodging the embarrassment of a past post, you’re armed with the mighty knowledge to prune your gallery.
But hey, maybe keep those deleted pics stashed in an erasable file for future nostalgic moments. Or, y’know, just have fun owning your not-so-great photographic moments.
Remember, deleting pictures off Tumblr shouldn’t feel like a chore; it’s more like a social media spa day for your blog. Ready to shine without the baggage! Now, go forth and create that dream blog while leaving behind any moments that might have made you regret that “post” button! Enjoy your Tumblr experience!


