
Ah, looking to block some pesky tags on Tumblr, are we? Well, you’ve come to the right place! Let’s dive into the ever-so-serious business of filtering out the content that makes you go “Ugh, not this again!” and reclaim your precious dashboard from the horrors of unwanted tags.
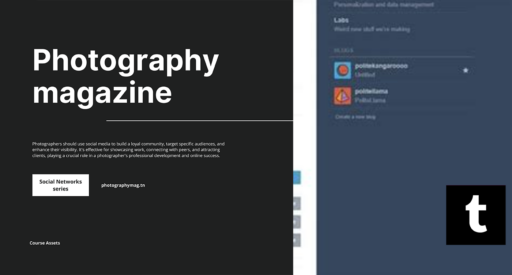
First things first, you’ll want to channel your inner Sherlock Holmes and hunt down those settings. Navigate your way to the left-hand side of your screen and click on “Settings.” You’ll be greeted with a treasure trove of options that seem to mock you with their overwhelming choices.
Now, scroll down until you hit the “Content you see” section. This is where the magic happens, and yes, I mean the kind of magic that allows you to banish things you don’t want to see faster than a magician at a bad party. Look for the shiny pencil icon next to “Filtered Tags,” and give it a little click. You’ll feel like you’re wielding a digital sword with all this power at your fingertips!
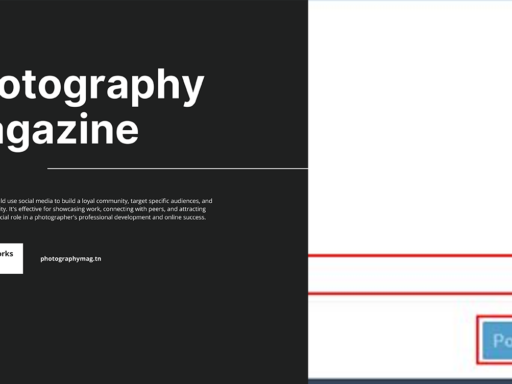
Next, type in the tag you want to filter out. It could be something that drives you nuts like #CatsWithHats (seriously, who thought that was a good idea?). Once you’ve entered your unwanted tag, hit “Add” and just like that, poof! The universe will rejoice as that tag joins the ranks of the forgotten.
Let’s say you’ve had a change of heart—maybe cats in hats aren’t as bad as you thought. Fear not, because removing a filtered tag is as simple as a humorous meme. Just find the “Remove” button next to the tag you’re ready to let go, click it, and voila! You can now bask in the glory of all those hats on cats once again.
So, there you have it! You’re now equipped with the knowledge to keep your Tumblr dash as delightful or as depraved as you wish. Go forth, embrace your filtering powers, and remember: it’s your Tumblr, so block those tags like a champ!