
So, you want to jazz up your Tumblr blog with some snazzy badges? Well, buckle up, because I’m about to sprinkle some pixie dust on your digital presence!
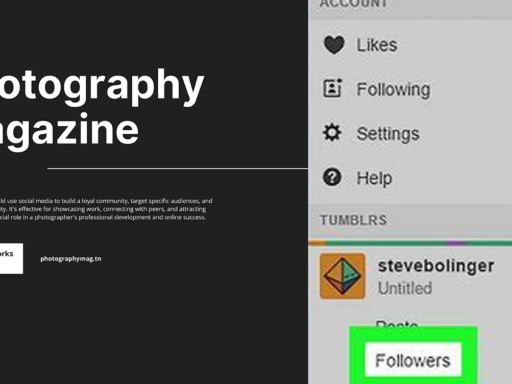
First, let’s get down to business. Navigate to your Tumblr dashboard and locate that little pencil icon hiding under your blog name. This sneaky little guy is your golden ticket to the land of badges. Once you click on it, you’ll see a plethora of options unfold in front of you—like a treasure chest filled with shiny gems just waiting for you to pick them out!
Now, brace yourself: adding, editing, or hiding badges has never been so exhilarating! Picture this: you can choose from an array of delightful badges that showcase your personality, interests, and even your online prowess. It’s like dressing up your blog in its best outfit for a night on the town! Want to flaunt that you’re a Tumblr veteran? There’s a badge for that. Have a soft spot for adorable cats? You better believe there’s a badge just begging to be displayed!
But wait, there’s more! These badges don’t just sit there quietly—they actively strut their stuff right alongside your username on your dash and throughout your blog. This little upgrade can make your profile shine brighter than a disco ball at a ’70s dance-off. Fancy, right?
Now, let’s say you’re feeling more minimalist today, and all those accolades just don’t fit your vibe. No worries! You can easily tweak your settings. Just go back to that trusty “Badges” view and uncheck the ones you don’t want to show. It’s as easy as pie—unless you’re a pie-challenged individual, in which case, never mind.
In summary, dive into the badge pool, explore what’s available, and don’t be afraid to mix and match. Showcase those accomplishments, flex those interests, and create a Tumblr blog that’s uniquely YOU! Happy badge hunting!