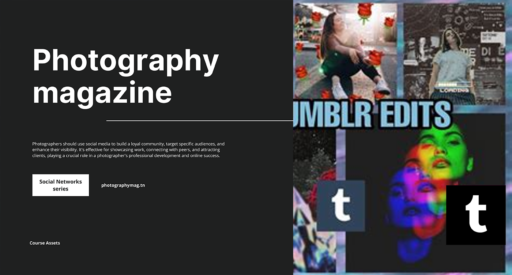
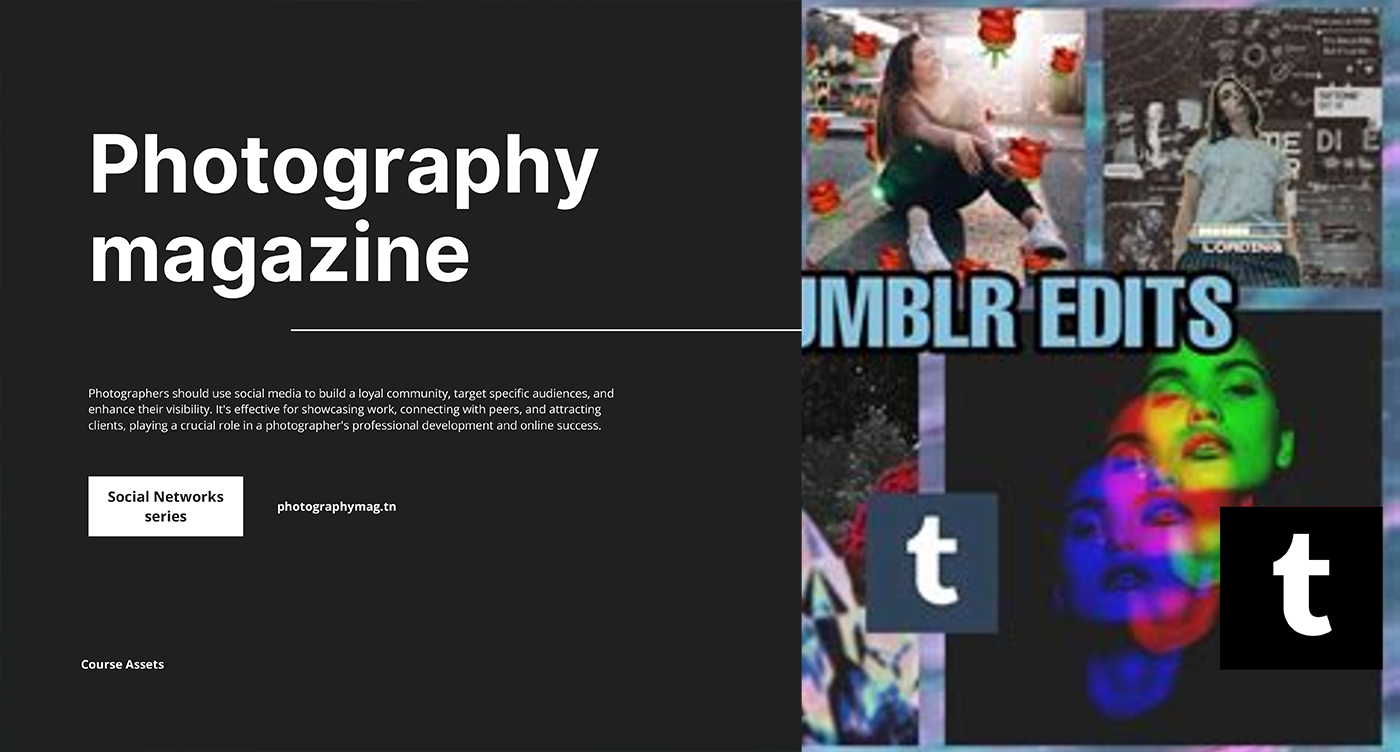
Welcome to the World of Tumblr Photo Editing!
So, you’ve decided it’s time to make your Tumblr account not just a collection of half-hearted selfies and painful attempts at wit, but a curated gallery of visual deliciousness. Congratulations! Editing your photos is like giving them a magical makeover; it’s the difference between “just okay” and “OMG, I can’t stop scrolling!” But how do you edit Tumblr photos like a pro without turning into a Photoshop ninja? Let’s dive into the nitty-gritty of creating photos that make even your cat look cool.
Step 1: Filter Fabulousness
Filters are like sprinkles on your Instagram cupcake. No one really needs them, but they make everything a little more fun!
Using the Filter Palette:
- To access filters, simply tap the palette icon. This will reveal a smorgasbord of available filters at your fingertips!
- Don’t be shy—experiment! Tap on each filter to preview how it transforms your image. Is it making you look more like a sunset goddess or maybe a noir film extra? Remember, filters should enhance, not mask your charm!
- Once you find a filter that resonates with your aesthetic—or just looks totally rad—tap it to apply it. Seriously, it’s just one tap away!
Step 2: Crops and Cuts – Snip, Snip, Hooray!
After you’ve sprinkled some filter goodness over your images, it’s time for the ultimate photo surgery: cropping! Don’t worry, you won’t need a degree in art or a therapist for this—just a little creativity and finesse.
Crop Like a Boss:
- Find the crop icon; it’s typically hiding behind a bold silhouette of scissors or maybe a squarish shape. Tap it!
- Now, brace yourself for the power of cropping! Drag those corners around to cut or resize the image. Want to lose that awkward trashcan in the background? Crop it! Need to showcase that glorious skyline instead of your buddy’s face? Crop it!
- Rotate the image if it’s slightly tilted. Don’t let your photos look like they were taken by someone who just got off a merry-go-round—unless that was your intention!
Step 3: Adjustments for the Perfectionists
Now that you are armed with filters and cropping skills, it’s time to get a little more serious. Think of this as the photo’s spa day. Luxurious edits are the way to go if you want to achieve the je ne sais quoi vibe your Tumblr absolutely deserves.
Brighten Up, Buttercup:
- Adjust brightness, contrast, saturation, and exposure. Brightness gives your photos life, while contrast adds drama—perfect for those moody aesthetics!
- Saturation is your best friend. Too much, and it looks like you’ve Photoshopped a unicorn into a rainbow; too little, and it’s like looking at a foggy morning. Find that sweet spot!
Step 4: Adding Text and Elements
Who doesn’t love some cheeky text overlay on their pictures? Adding a witty quote or a simple caption can inject life into any photo and make it Instagram-worthy. Think of it like the cherry on top of your photo sundae.
Text and Graphics:
- Select the text tool (it often resembles a T for “Text”). Find the ideal spot in your photo where it won’t obstruct your awesomeness!
- Type in something snazzy. Maybe a profound quote or just “I woke up like this.” Don’t overthink this; sometimes simple is the best!
- Experiment with different fonts and colors. Want to express that you’re in a punk rock mood? Go for bold fonts in neon colors!
Step 5: Emojis, Stickers & Fun Elements
Stickers are the digital equivalent of a dramatic accessory. Let’s face it, a little flair never hurt anyone! Adding stickers and emojis can make your photos more engaging and fun.
Accessorize Your Photos:
- Tap the sticker icon (usually a smiley face or a cute graphic) to add a dimension of fun to your image. You have the power to completely transform the vibe—whether you want it to be whimsical, sarcastic, or nerdy.
- Move those stickers around! You can resize and rotate them like a tornado of creativity. Just ensure they don’t cover up any glorious content.
Step 6: Play with Effects for Some Serious Drama
Want your photo to look as if it’s taken straight out of a fantasy land? It’s time to experiment with effects!
Special Effects:
- Explore options like vignette, blurring, and noise. Vignetting creates gorgeous darkness around the edges, pulling the viewer’s focus; it sets the mood and adds a bit of drama.
- Blurred backgrounds give that professional touch, leading the eye to the main subject. Just imagine your cat looking glamorous while the shovel in the back is thrown out of focus!
- Noise can add a grainy effect that gives your photo an indie vibe. Think cool, artsy, and oh-so-tumblry.
Step 7: Save & Share Your Masterpiece
So, after you’ve edited your photo to the point of elation, what’s next? Time to share it with the world!
Save That Bad Boy:
- Before you share, don’t walk away yet! Hit that save button. You don’t want your hard work to disappear into the ether of unsaved edits.
- Now go ahead and share your masterpiece on Tumblr. You did it—you created a photo that deserves some serious likes and admiration!
- Remember to engage with your audience. Ask for feedback or opinions on your creation. Maybe even say, “How’s my aesthetic, people?” You never know; they might shower you with compliments
Bonus Tips for Extra Tumblr Power!
- Routine is Key: Develop a photo editing routine, just like your morning coffee! Practice makes perfect, and soon you’ll be editing selfies faster than you can Instagram them.
- Follow Other Accounts: Browse through trendy Tumblr accounts to gather inspiration. Find what resonates with you, and adapt! After all, imitation is the sincerest form of flattery, and don’t we just love to steal good ideas?
- Stay Up to Date: Keep an eye on popular editing apps. Apps like VSCO, Snapseed, or Adobe Lightroom can provide you with unique editing tools for a more polished finish, transforming your photos from ‘meh’ to magnificent!
- Theme it Up: Establish a cohesive aesthetic! Whether you lean towards dark and moody or light and airy, maintaining consistency in your photo edits will create an unforgettable and visually satisfying Tumblr page.
Final Thoughts: Your Editing Adventure Awaits!
Editing your Tumblr photos can turn your basic images into jaw-dropping visuals deserving of their own gallery. Filters, cropping, resizing, adding text, and incorporating special effects; they are all tools in your creative arsenal! Remember, the goal is to express yourself beautifully while still retaining that unique quirkiness that makes you, well, you!
So go ahead, dive in, get a little messy with your edits, and most importantly, enjoy the process. When a picture speaks a thousand words, make sure it says all the right things with the right edits! Happy editing, creative soul!
